01
Fur, eyes, and markings first
The edit is framed around recognizable pet features instead of generic edge sharpening alone.
Clarity without a control panel
Upload a favorite dog or cat photo and choose how much larger it should become. The tool handles the technical enhancement brief while you stay focused on the photograph.
Live processing needs configured photo storage and tool service. If either is unavailable, the workspace shows the real setup error instead of a demo result.
Clarity desk 01
Use 2× for everyday sharing or 4× when the source is small and you need more pixels to work with.
JPG, PNG, or WebP up to 10 MB. Use one clear photo with the pet fully visible.
Pet details stay in the brief
The workspace keeps the task narrow: improve clarity and size while treating eyes, markings, whiskers, and fur direction as identity details.
01
The edit is framed around recognizable pet features instead of generic edge sharpening alone.
02
There is no maze of technical sliders. Choose the output scale and let the service handle the processing recipe.
03
2× and 4× describe the requested dimensions, not a promise that a blurred source becomes studio photography.
Details worth keeping
Move the divider to inspect fur, eyes, whiskers, and the character of the original light across two familiar photo problems.
Curated synthetic demonstrations — not user submissions.
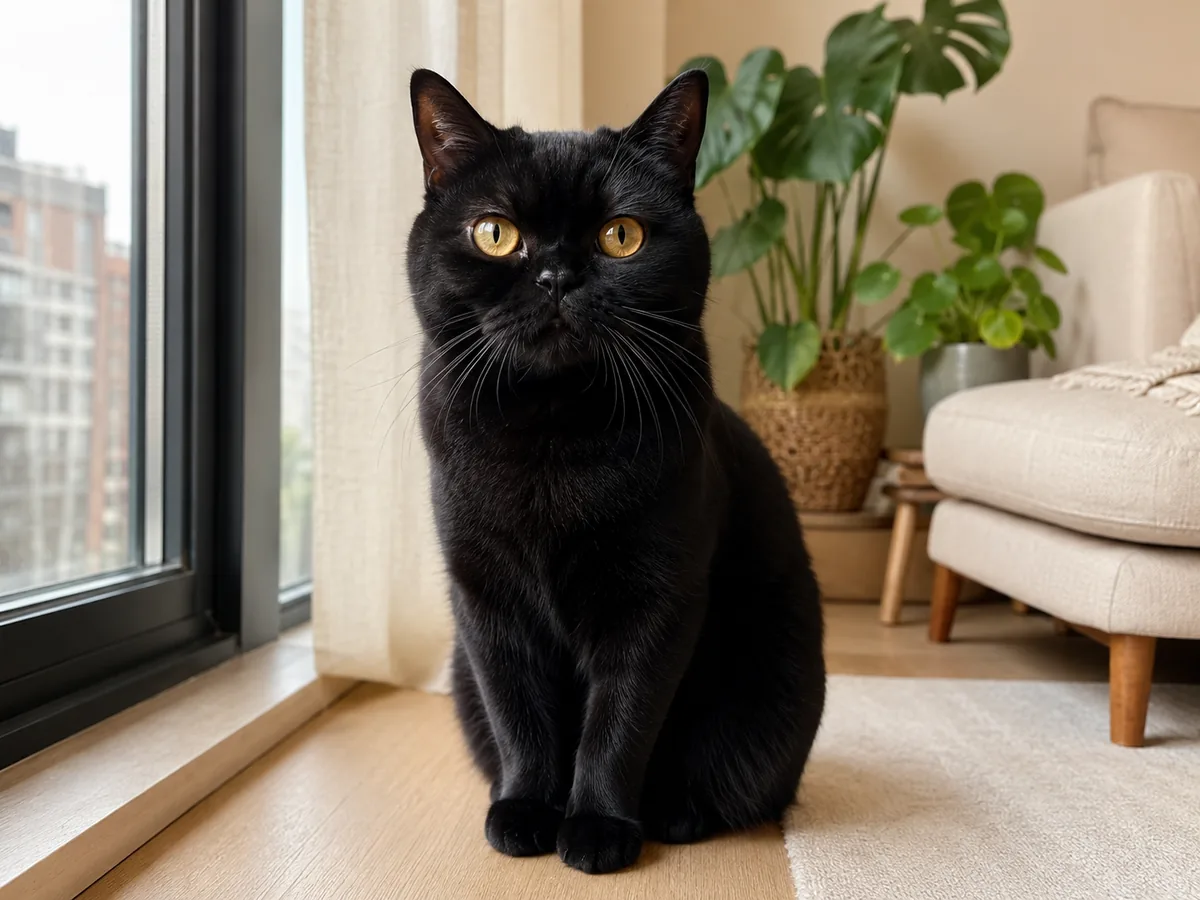
Low-resolution photos often merge dark fur into one flat shape. Careful enhancement separates the coat, eyes, and whiskers without inventing plastic texture.
Look closely
Synthetic demo for visual guidance. Results vary with the source photo.
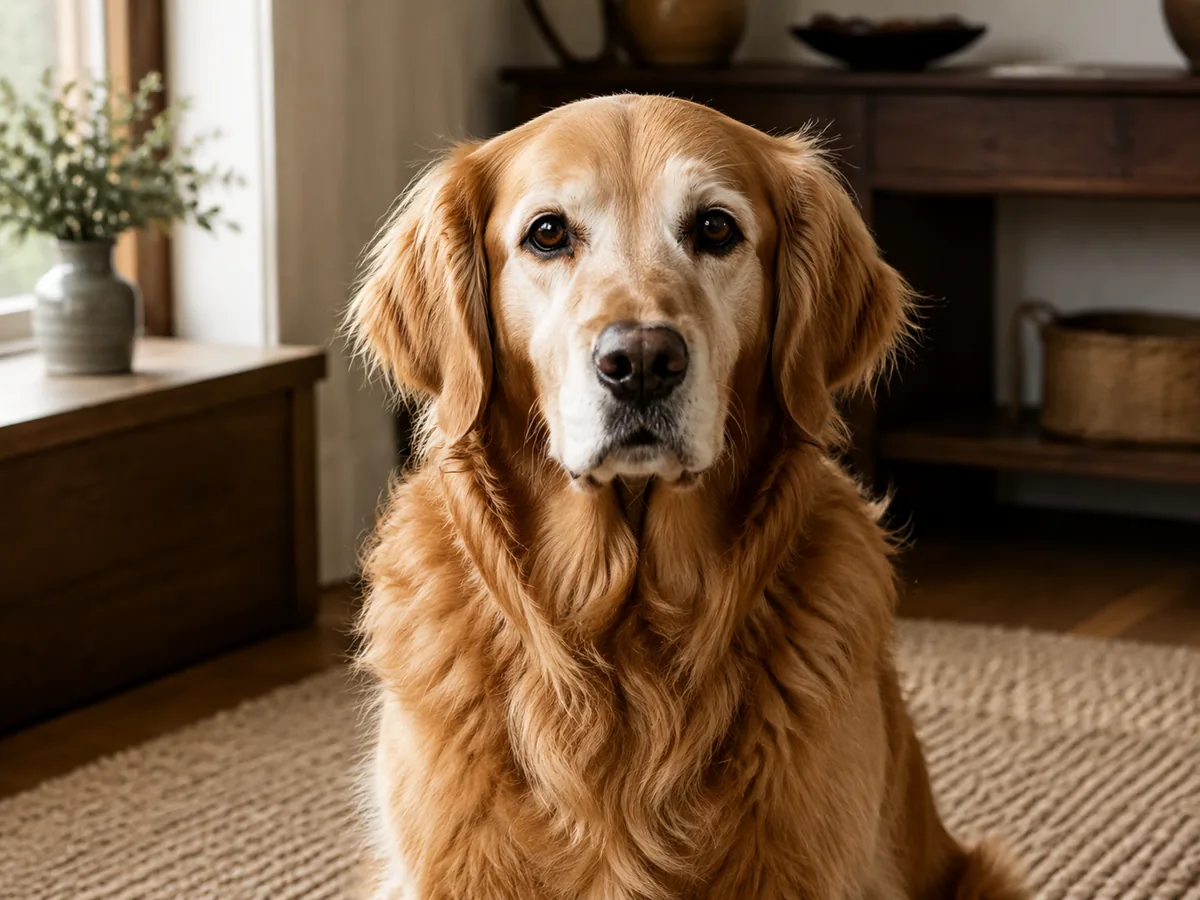
Senior pets have subtle silver fur and gentle facial texture that aggressive sharpening can erase. The goal is clarity with warmth intact.
Look closely
Synthetic demo for visual guidance. Results vary with the source photo.
A focused three-step workflow
The simple flow keeps the original, the requested scale, and the returned image easy to compare.
Choose the least compressed version you have. Visible eyes and natural light give the enhancer better information.
Pick 2× for a balanced everyday result, or 4× when the original dimensions are genuinely limiting.
Zoom into the eyes, fur edges, and markings. Download only the returned image you have actually reviewed.
Clear product boundaries
A useful enhancer can reduce softness and create a larger output, but source quality still defines the ceiling.
Motion blur, missed focus, or a tiny face can only be interpreted. Review identity details closely.
A 4× file contains more pixels, but it is not equivalent to a new photograph taken with a better lens.
This page never swaps in a canned result when storage, credits, or processing is unavailable.
Before you start
Source-photo quality still matters. These answers explain what the current tool is designed to do.
Start with 2× for most web and sharing needs. Use 4× when the original image dimensions are small, then inspect fur and facial details before keeping the result.
No enhancer can recover detail that was never recorded. It may create a cleaner interpretation, but strong blur can still produce uncertain eyes, whiskers, or markings.
No. The page sends only the chosen scale and the uploaded image. The technical instructions stay on the server.
The workspace shows the actual request error. It does not display a sample image as though it were your completed result.